One of my favourite parts of Christmas time is getting and decorating the Christmas tree. Our family has the tradition of going to a local farm in Blackstock, Ontario and cut down the tree ourselves! Once we finally drag the tree home and get it inside the house its time to add the ornaments. We have a mixture of new and home-made ones from years and years ago on our tree and usually add to the collection every holiday!
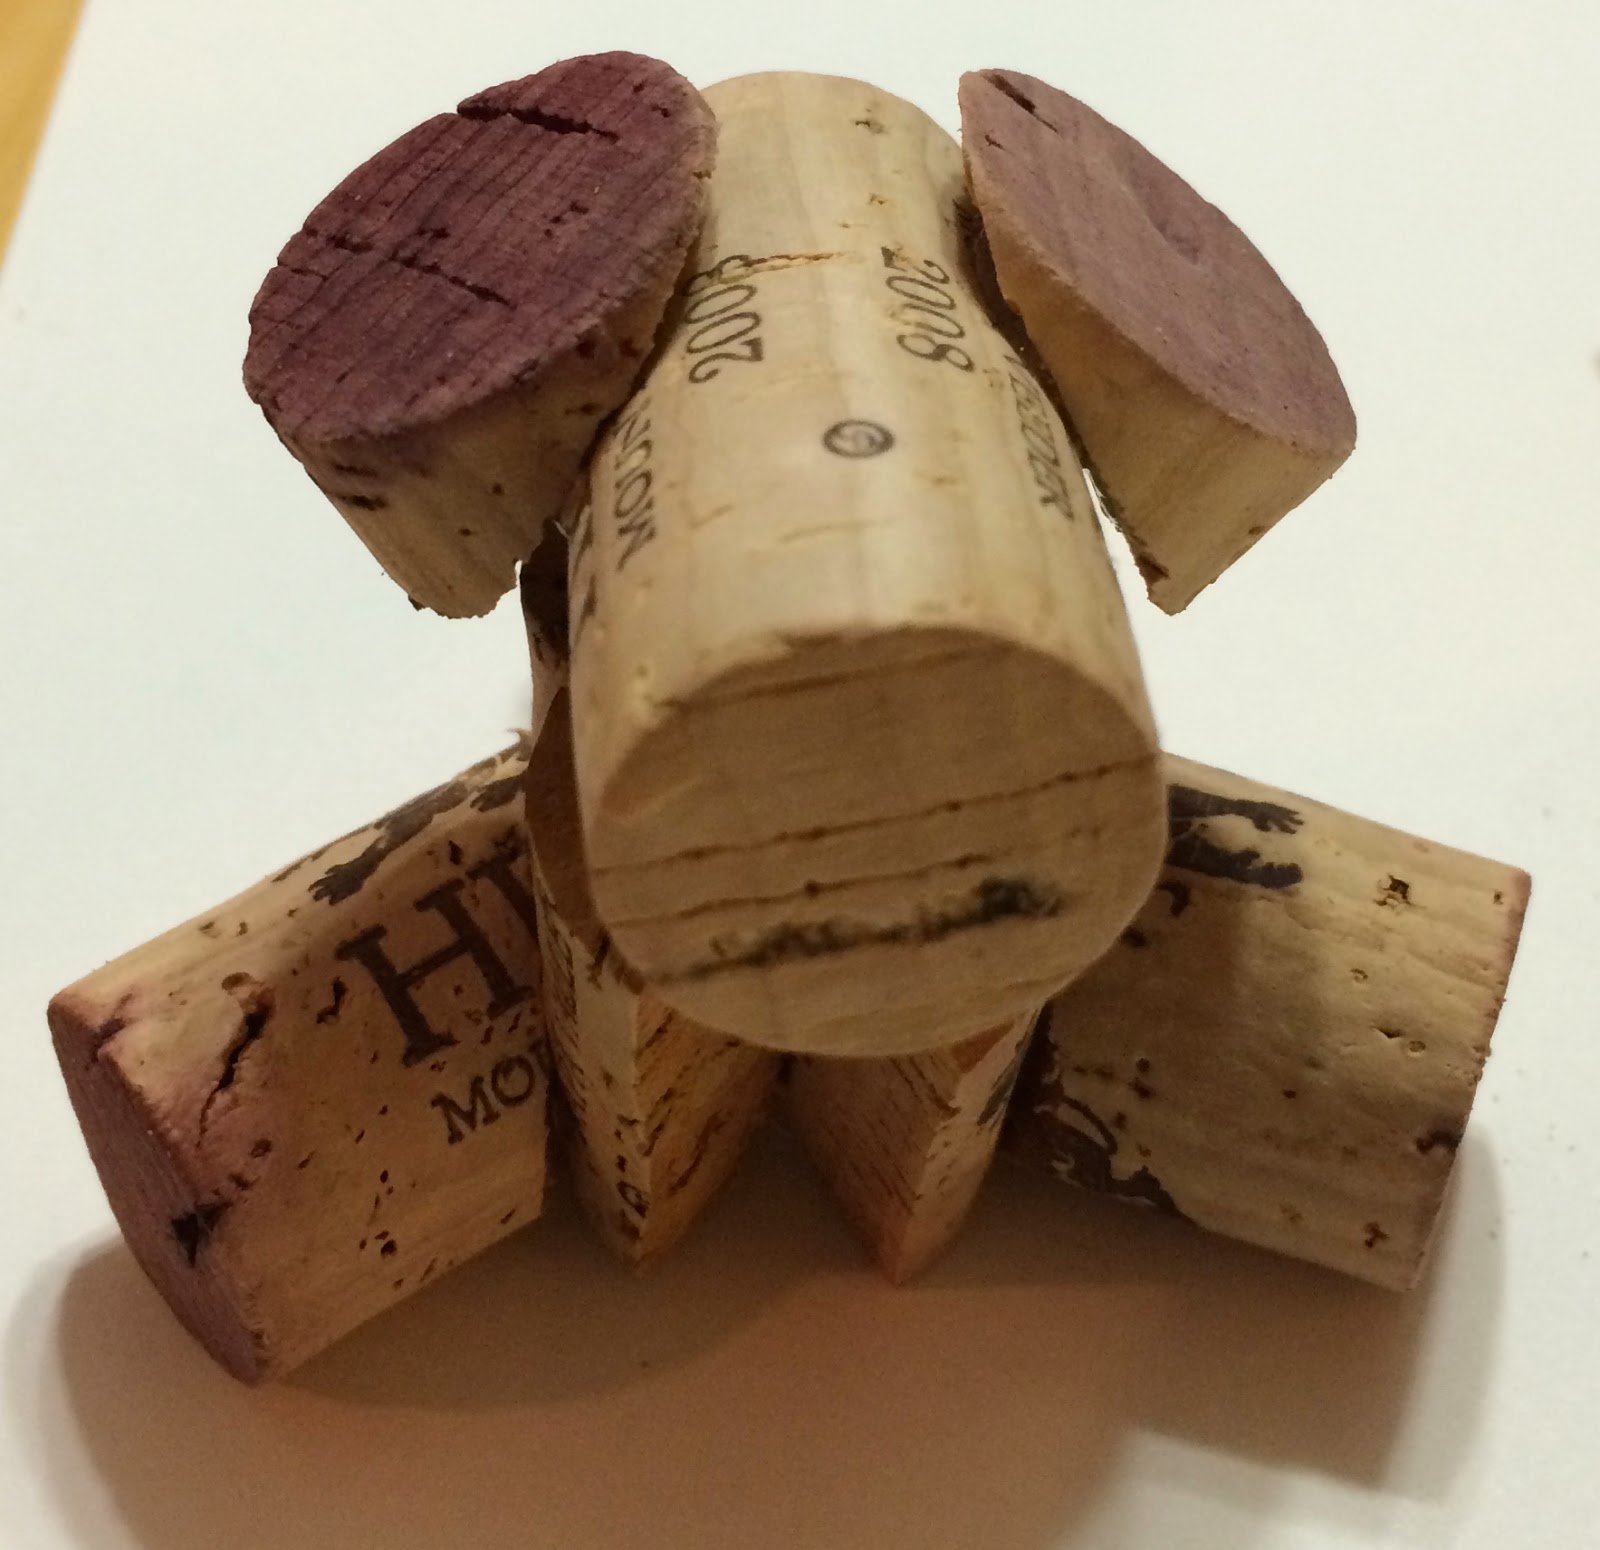
There is no doubt that I love dogs so this year I made these adorable wine cork ornaments which I have giving instructions for below. Also enjoy some other easy DIY ornaments that you can make easily from things around your home!
Dog Wine Cork Ornaments

Please be aware that you can use the corks in a multitude of ways to create different dog breeds. This is one specific example we want to share!
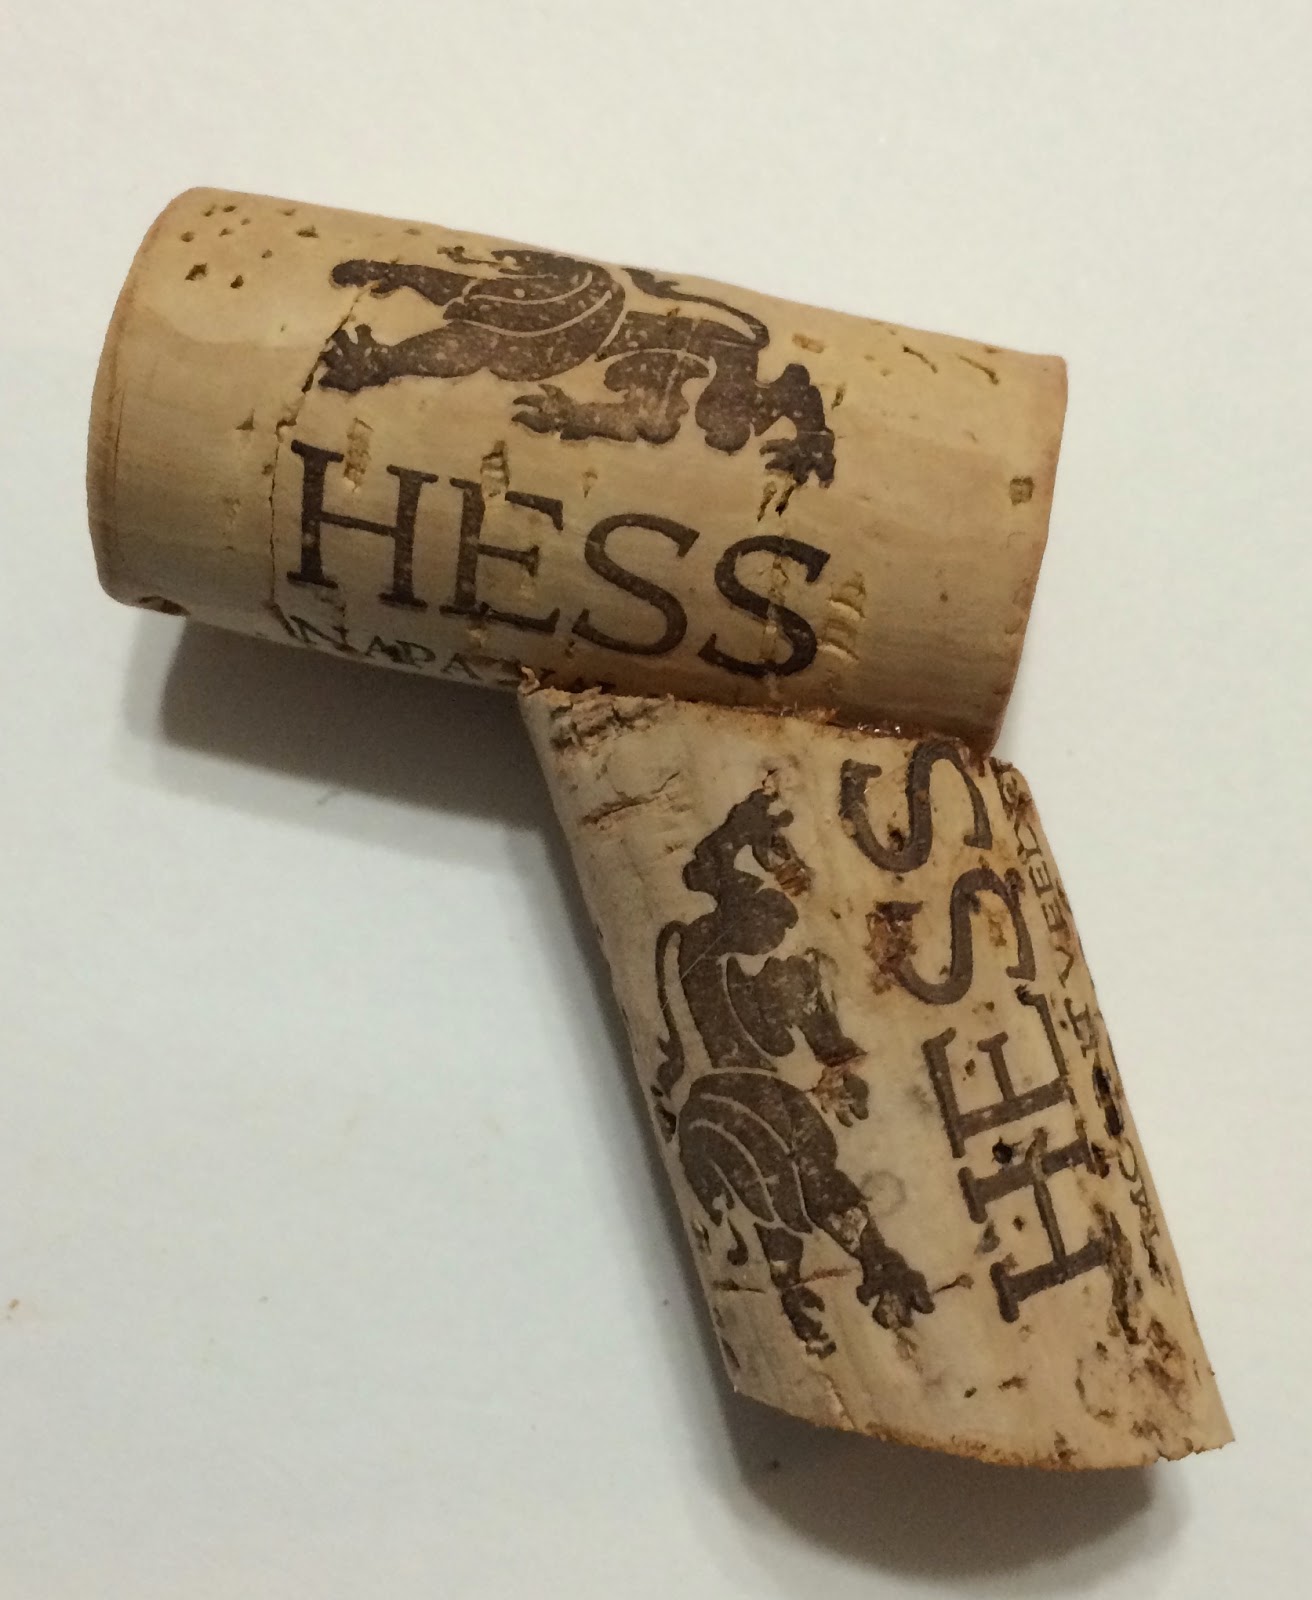
First boil your corks in water for at least 5 minutes, maybe 10. It's the only way you can cut them.
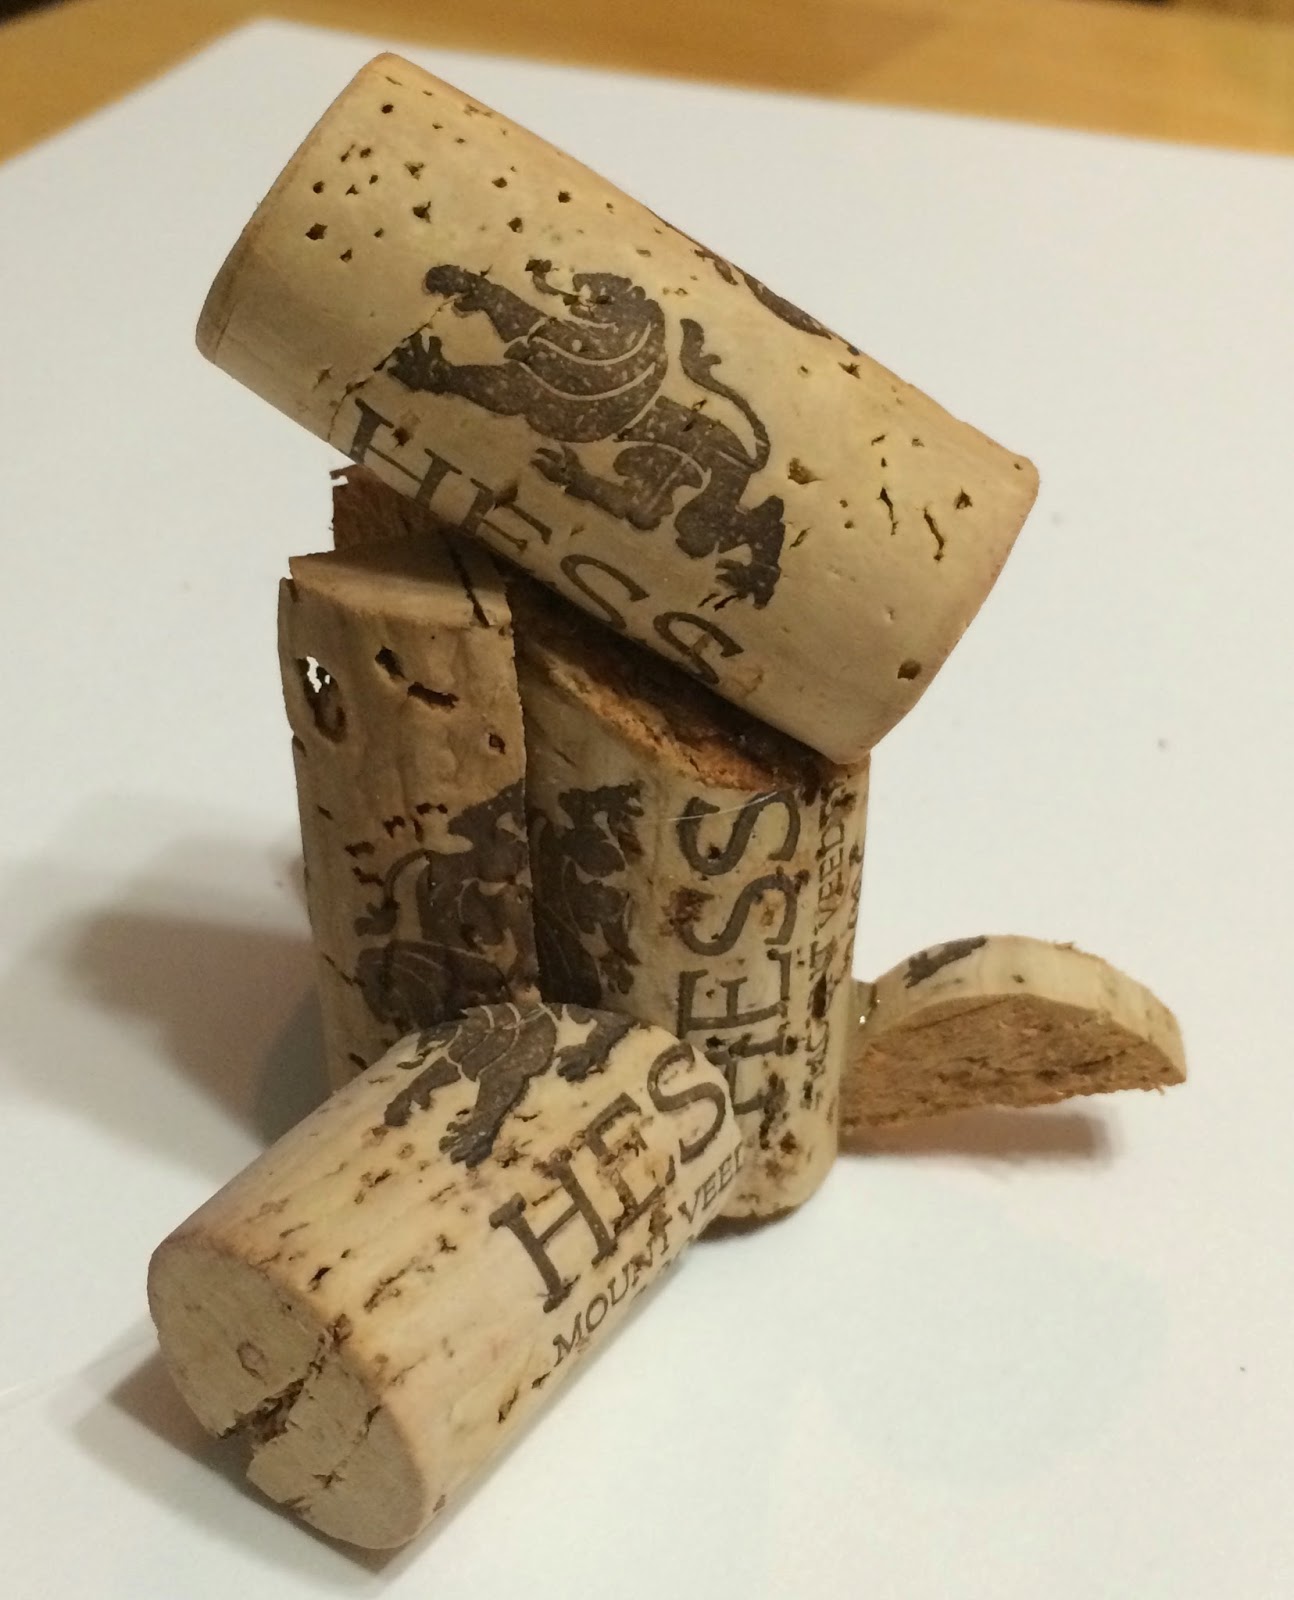
You will need 5 corks.
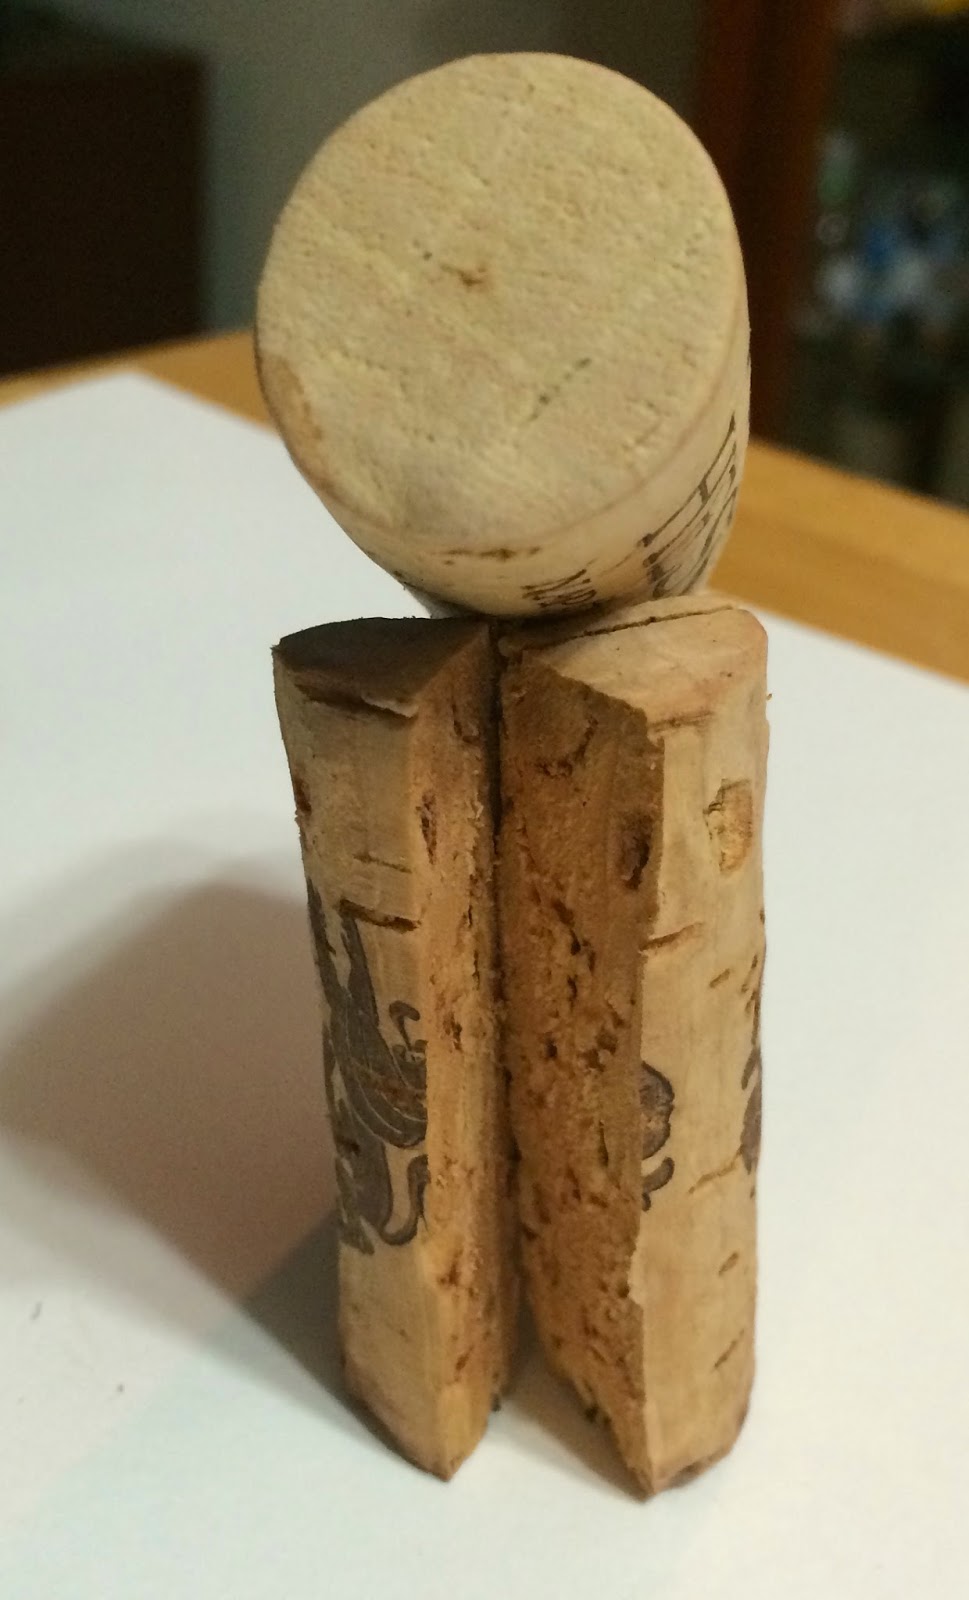
- Cut one cork lengthwise into 4 pieces for the front legs.
- Cut one cork in half at an angle for the back legs.
- Cut one cork at an angle on the top and the bottom for the body.
- The head is left alone.
- One cork can be sliced into pieces about 1/8" thick and then cut in half for the tail.
- The ears are slices cut at an angle.
- Glue the head to the body with a glue gun.
- Glue the front legs to the body under the head
- Glue the back legs to the sides of the body.
- Glue the tail on the back of the body.
- Finally glue the ears on the head.
- You could also make pointy ears, but my dog has floppy ones.

- These eyes are dressmakers pins, but I think googly eyes and the black eyes look great too.
- I found some rhinestone hearts for the nose and used a sharpie for the mouth etc... a ribbon finishes him off.
Milk Bone Biscuit Ornaments:


Spray paint a dog biscuit, toy, or treat with metallic paint for an easy fur baby keepsake.

Seashell Dog Ornament:

If you have some spare seashells hanging around glue them together to make a copy of your pooch. For floppy ears glue the shells facing downwards. You can also add things like clay and beads to create a perfect match! Add paint and then glue onto a string.

Clay Paw Print Ornament:

Before you start here is what you will need to make the all-natural air dry clay:
- 1 cup baking soda
- 1/2 cup cornstarch
- 3/4 cup water
- matte finish decoupage medium
- circle cookie cutter
This project couldn’t be easier, we love the fact that it is completely safe for pets both dogs and cats! Any residue left on your pets paws won’t be an issue if he or she accidentally ingests it.
Let’s get into then instructions:
- Add baking soda, cornstarch and water to a saucepan over medium-low heat.

- Quickly bring to a boil while whisking everything together.

- Turn off heat and stir until mixture resembles thick whipped potatoes.

- Spoon onto cutting board sprinkled with corn starch. Once mixture cools it should begin to look like store-bought clay.

- Use right away or keep in an airtight ziplock bag for up to a week.
- Flatten the clay into a 1/4 inch pattie. To get paw print from your furry friend, place clay on a plate and gently press their paw into the clay. This clay mixture tends to be softer making it easier to get a paw impression.


- Use the cookie cutter to achieve a perfect circle.

- Remember to create a hole for the ornament to hang from

- Let the clay dry overnight on a cookie rack. Brush decoupage sealer onto the imprinted side. This will seal the clay and prevent it from splitting or cracking.

- You have the option to leave the ornament a is or you have the choice to add paint, sparkles and even there name!

- Add twine through the hole you previously made to hang your new ornament.

Share your homemade DIY dog ornaments by hashtagging #HolliePaws on Instagram or tag us on Facebook! Don’t have time or want a new ornament? Find some of our favourite rustic looking dog themed ones at www.HolliePaws.com use promo code GROOM10 to receive 10% off!
Dog Christmas Ornaments
Merry Christmas,
Hollie
Owner HolliePaws
